
VAE Step-by-Step: From Eligibility Check to Submitting Your Application
Quick overview: what VAE means in practice
VAE, or Validation des Acquis de l’Expérience, is a process that allows professional experience to be reviewed against the requirements of a certification. In practice, the work is simple to describe and demanding to execute: you identify a target credential, prove that your experience matches its competencies, and submit a structured application that can be assessed on evidence rather than vague claims.

For an official overview of the process, the French service-public pages on VAE and the Ministry of Labour’s guidance on validation of experience are useful reference points. Keep the structure clear from the start. Disorder in the file becomes disorder in the review.
Step 1 – Eligibility check: evidence you’ll need
Before you invest time in the dossier, confirm that your experience is relevant, substantial, and recent enough to support the target qualification. Do not rely on memory alone. Build a simple eligibility file with the facts that can be checked.
- Experience history: roles held, employers or organizations, dates, and continuity.
- Role scope: the responsibilities you actually carried, not the title on a badge.
- Timing: when the activity happened and whether it aligns with the target certification.
- Proof points: contracts, payslips, certificates, references, work logs, or project records where available.
Organize this material in one folder, then make a second folder for your strongest proof. Use a shortlist of documents you can explain without improvisation. If a fact cannot be traced, it is not ready for submission.
Step 2 – Choose the right certification target
The target must fit the experience, not the other way around. Start by reading the competency framework for the diploma, title, or certificate you want. You are looking for overlap between what the credential expects and what you have actually done.
- List the main competencies required by the certification.
- Map each competency to a concrete work situation from your history.
- Mark any gaps honestly before you commit.
- Prefer a realistic target with strong evidence over an ambitious target with weak alignment.
If you want a broader orientation before choosing, review the site’s VAE overview page and the related coaching page for support options. The right decision is the one your evidence can carry.
Step 3 – Build your evidence file
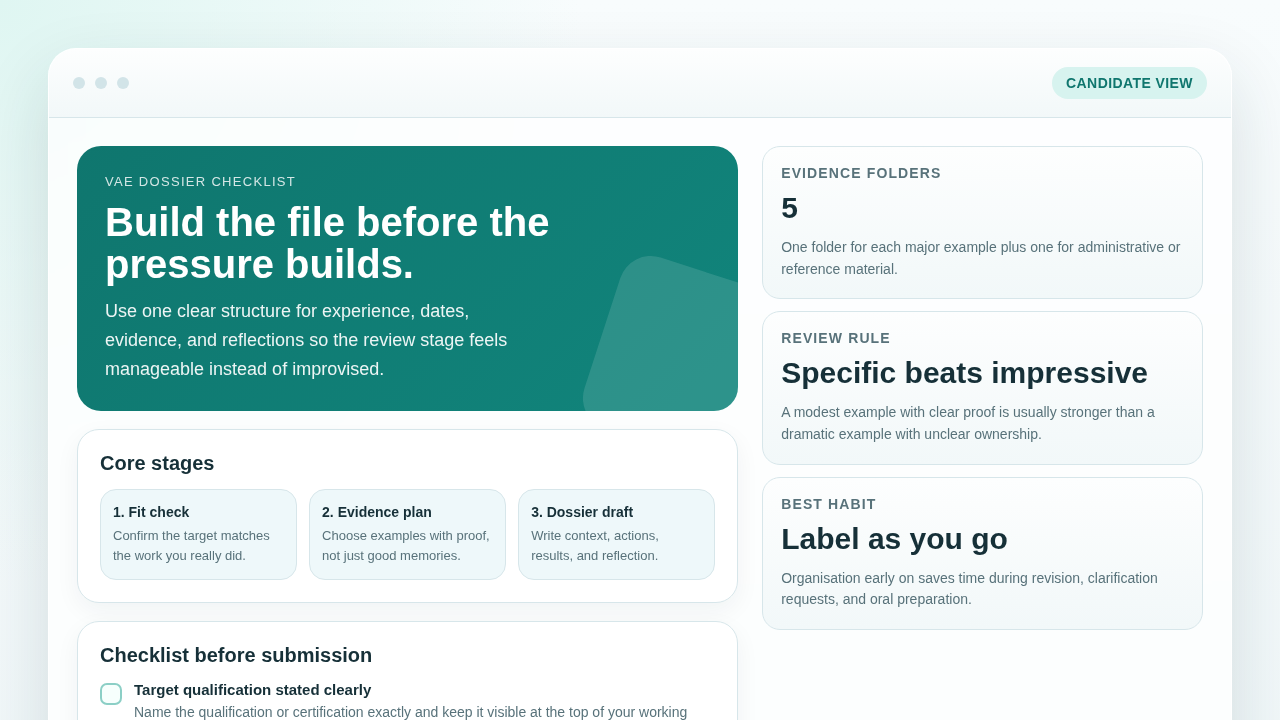
Your evidence file should read like a controlled record of professional practice. Include examples that show responsibility, method, and result. Keep the focus on what you did, how you did it, and what changed because of it.
| Evidence type | What it should show | Common weakness |
|---|---|---|
| Project example | Scope, action, outcome | Only a description of the project |
| Operational task | Tools used, decisions made, constraints managed | Generic duty list |
| Result summary | Measured impact or visible improvement | No outcome stated |
| Reference material | Independent confirmation of your role | Undated or vague statements |
Use the evidence file to show a line of control: responsibility, action, result. That sequence is easier to assess than a bundle of disconnected documents.
Step 4 – Write your application narrative
The narrative is where your experience becomes assessable. Competency statements should describe one competence at a time, then support it with evidence. Keep the language direct. Avoid inflated claims, broad summaries, and phrases that sound impressive but prove nothing.
- State the competency clearly.
- Describe the context briefly.
- Explain your actions in order.
- State the result and what it demonstrates.
- Use the first person sparingly and precisely.
If you need a model for disciplined planning support, the site’s contact page is the cleanest route to request help. The narrative should sound like a responsible account, not a sales pitch.
Step 5 – Review & validation
Before submission, review the dossier as if you were the assessor. The goal is to remove uncertainty before someone else finds it. Check three things: clarity, completeness, and consistency.
- Clarity: every section explains a single point.
- Completeness: each competency has supporting evidence.
- Consistency: dates, titles, and responsibilities do not conflict.
A peer review helps. So does leaving the file overnight and reading it again with fresh attention. Errors often live in the seams.
Step 6 – Submission timeline
Do not submit in a rush if the file still needs repair. Build a simple timeline with buffer time for revision, missing documents, and final checks.
- Confirm the target certification and deadline.
- Collect and name documents in a consistent format.
- Draft the narrative and supporting summaries.
- Run a validation pass for gaps and contradictions.
- Reserve time for one final read before sending.
A buffer matters because the last 10 percent of a dossier often takes 50 percent of the attention. That is not drama; it is normal file discipline.
Step 7 – What to expect after submission
After submission, the file is usually reviewed against the stated criteria. You may receive a request for clarification, additional evidence, or an interview or oral exchange depending on the pathway and certifying body. Keep your records available and your answers aligned with the dossier you submitted.
For general background on the recognition of prior learning concept, recognition of prior learning provides useful terminology, while your actual process should always follow the official body that handles the certification target. Do not guess at the next step; confirm it.
Common pitfalls – and how to prevent them
- Vague roles: replace job titles with actual responsibilities and decisions.
- Missing evidence: attach proof early, not after the file is already fragile.
- Mismatched competencies: choose a target that matches what you can document.
- Unclear outcomes: show what changed because of your work.
- Inconsistent dates or titles: reconcile every contradiction before submission.
The cleanest protection is simple: document each claim, keep one version of the truth, and review the file before it becomes someone else’s problem. If you need more context on the broader site, return to the home page or read more on the blog.
Practical closing note
A solid VAE application is built in order. Check eligibility, choose the right target, assemble evidence, write with discipline, validate carefully, and submit only when the file can stand on its own. That is how you reduce avoidable failure modes.